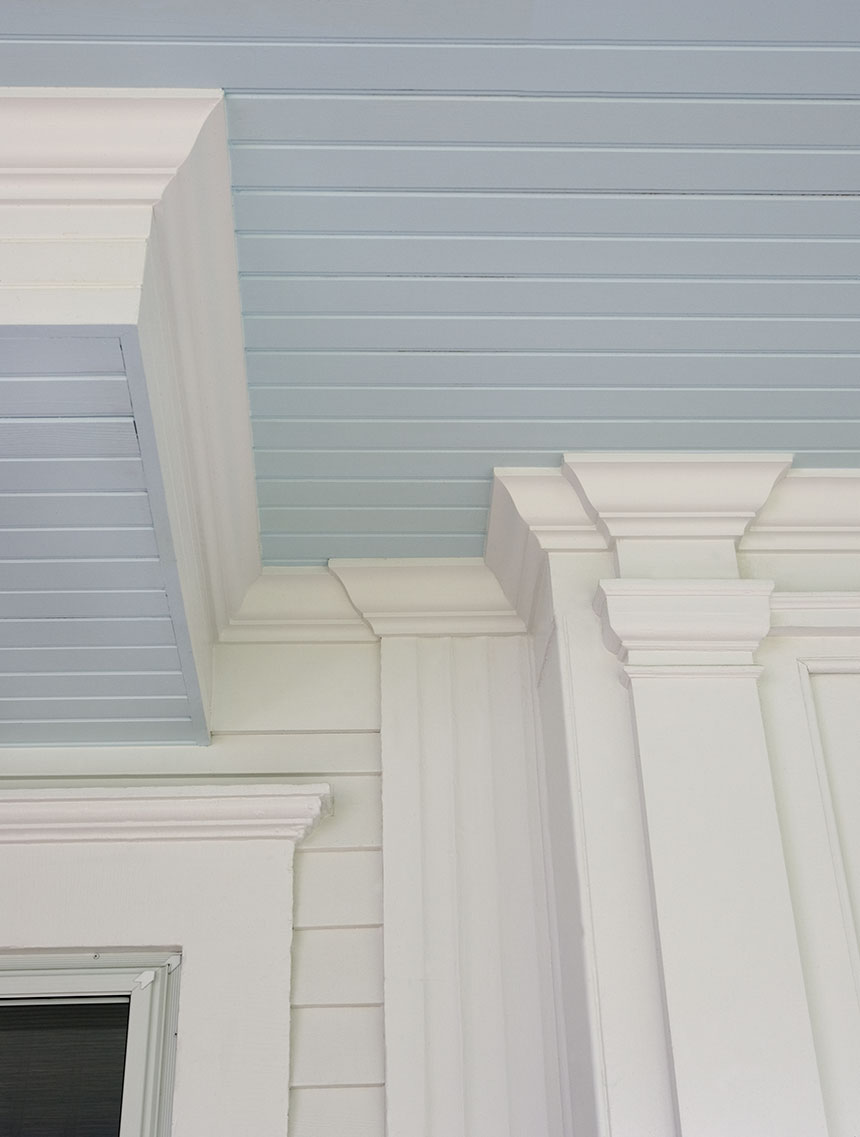
Moldings
by Architect Marc Brahaney
Have you ever walked into a room taken a deep breath and thought wow! How gorgeous! Obviously there are many factors that stimulate that emotion but one feature that always completes the picture is molding. Molding either simple or ornate can transform a simple room into a stunning yet warm and inviting space. For Janet Lasley, it was like lipstick – when missing you look fine but once you put it on, your face lights up.
When pondering new molding, do not be overwhelmed with the vast amount of choices. There are three basic categories: clam shell (simple), colonial (ornate/historic), and sanitary base (modern – flat, and square with an eased edge). Many times your house will clearly dictate which one you choose.
Your standard materials are finger joint and solid stock wood. Finger joint is different lengths of wood jointed together into one long pre-fabricated piece while solid stock is a simple solid piece of wood. Finger joint can separate once it is hung and you are limited to the profile or molding style because it is pre-fabricated. To give you a rough idea, finger joint will cost approximately $1.00 per linear foot and solid stock will cost approximately $2.00 per linear foot. Pay a little more for the quality and you will be happier in the long run. The next daunting question can be what size molding is appropriate. Keep in mind that a room is better balanced if the baseboards are wider than the crown molding. The idea being that proportionally the ceiling should appear lighter than the floor. Thus, a standard eight foot ceiling could handle a baseboard of up to 5.5” and the crown would be 4”. A ten foot ceiling can handle an 8” base board with a 6 inch two piece crown. A two piece crown is comprised of a reversed baseboard and crown molding put together and is used once molding exceeds 5” in width as it is easier to work with and it adds further detail.

A few more miscellaneous tips… have a carpenter install the molding. It is trickier than one would think to ensure a seamless fit. Buy your molding from a reputable lumberyard. Ensure the molding has 7-10 days inside your house to get acclimated before installation. It is essential that the wood is dry and if you suspect it’s been left outside or is still damp, have your carpenter use a moisture meter to ensure the wood is acclimated to the indoor moisture level so there will be no shrinkage. There’s nothing worse than crown that has 1/4” gaps due to shrinkage. Confirm with your carpenter that all the molding joints are well glued. Use quality caulk to significantly lower your chances of the caulk cracking as molding expands and contracts through the seasons. Never use silicon caulk on molding.
Don’t hesitate to do one room at a time. No, the molding won’t match for a while, but if you have clear demarcations to the room, it will not affect the aesthetics of the other rooms. Rather, it will further enhance the room you have upgraded as people go from one to the other.
Treat yourself to a room that surprises and delights you every day. Simple molding can make all of the difference!


